Your workspace
By the end of this page you will understand how your workspace is structured and how to manage its settings.
Prerequisites
- A verified qRaptor account with an active subscription (Choose a plan).
What is a workspace?
When you create your qRaptor account, a workspace is automatically created for you. Your workspace is the top-level container for everything you do in qRaptor:
- Projects — Each workspace can contain multiple projects.
- Team members — People you invite share access to your workspace.
- Billing — Your subscription and credits are tied to your workspace.
- Data isolation — All data within your workspace is fully isolated from other workspaces.
Your workspace is created automatically when you sign up. You do not need to create it manually.
Managing your workspace
Open workspace settings
Click your avatar in the top-right corner and select Settings. The Workspace tab shows your current workspace details.
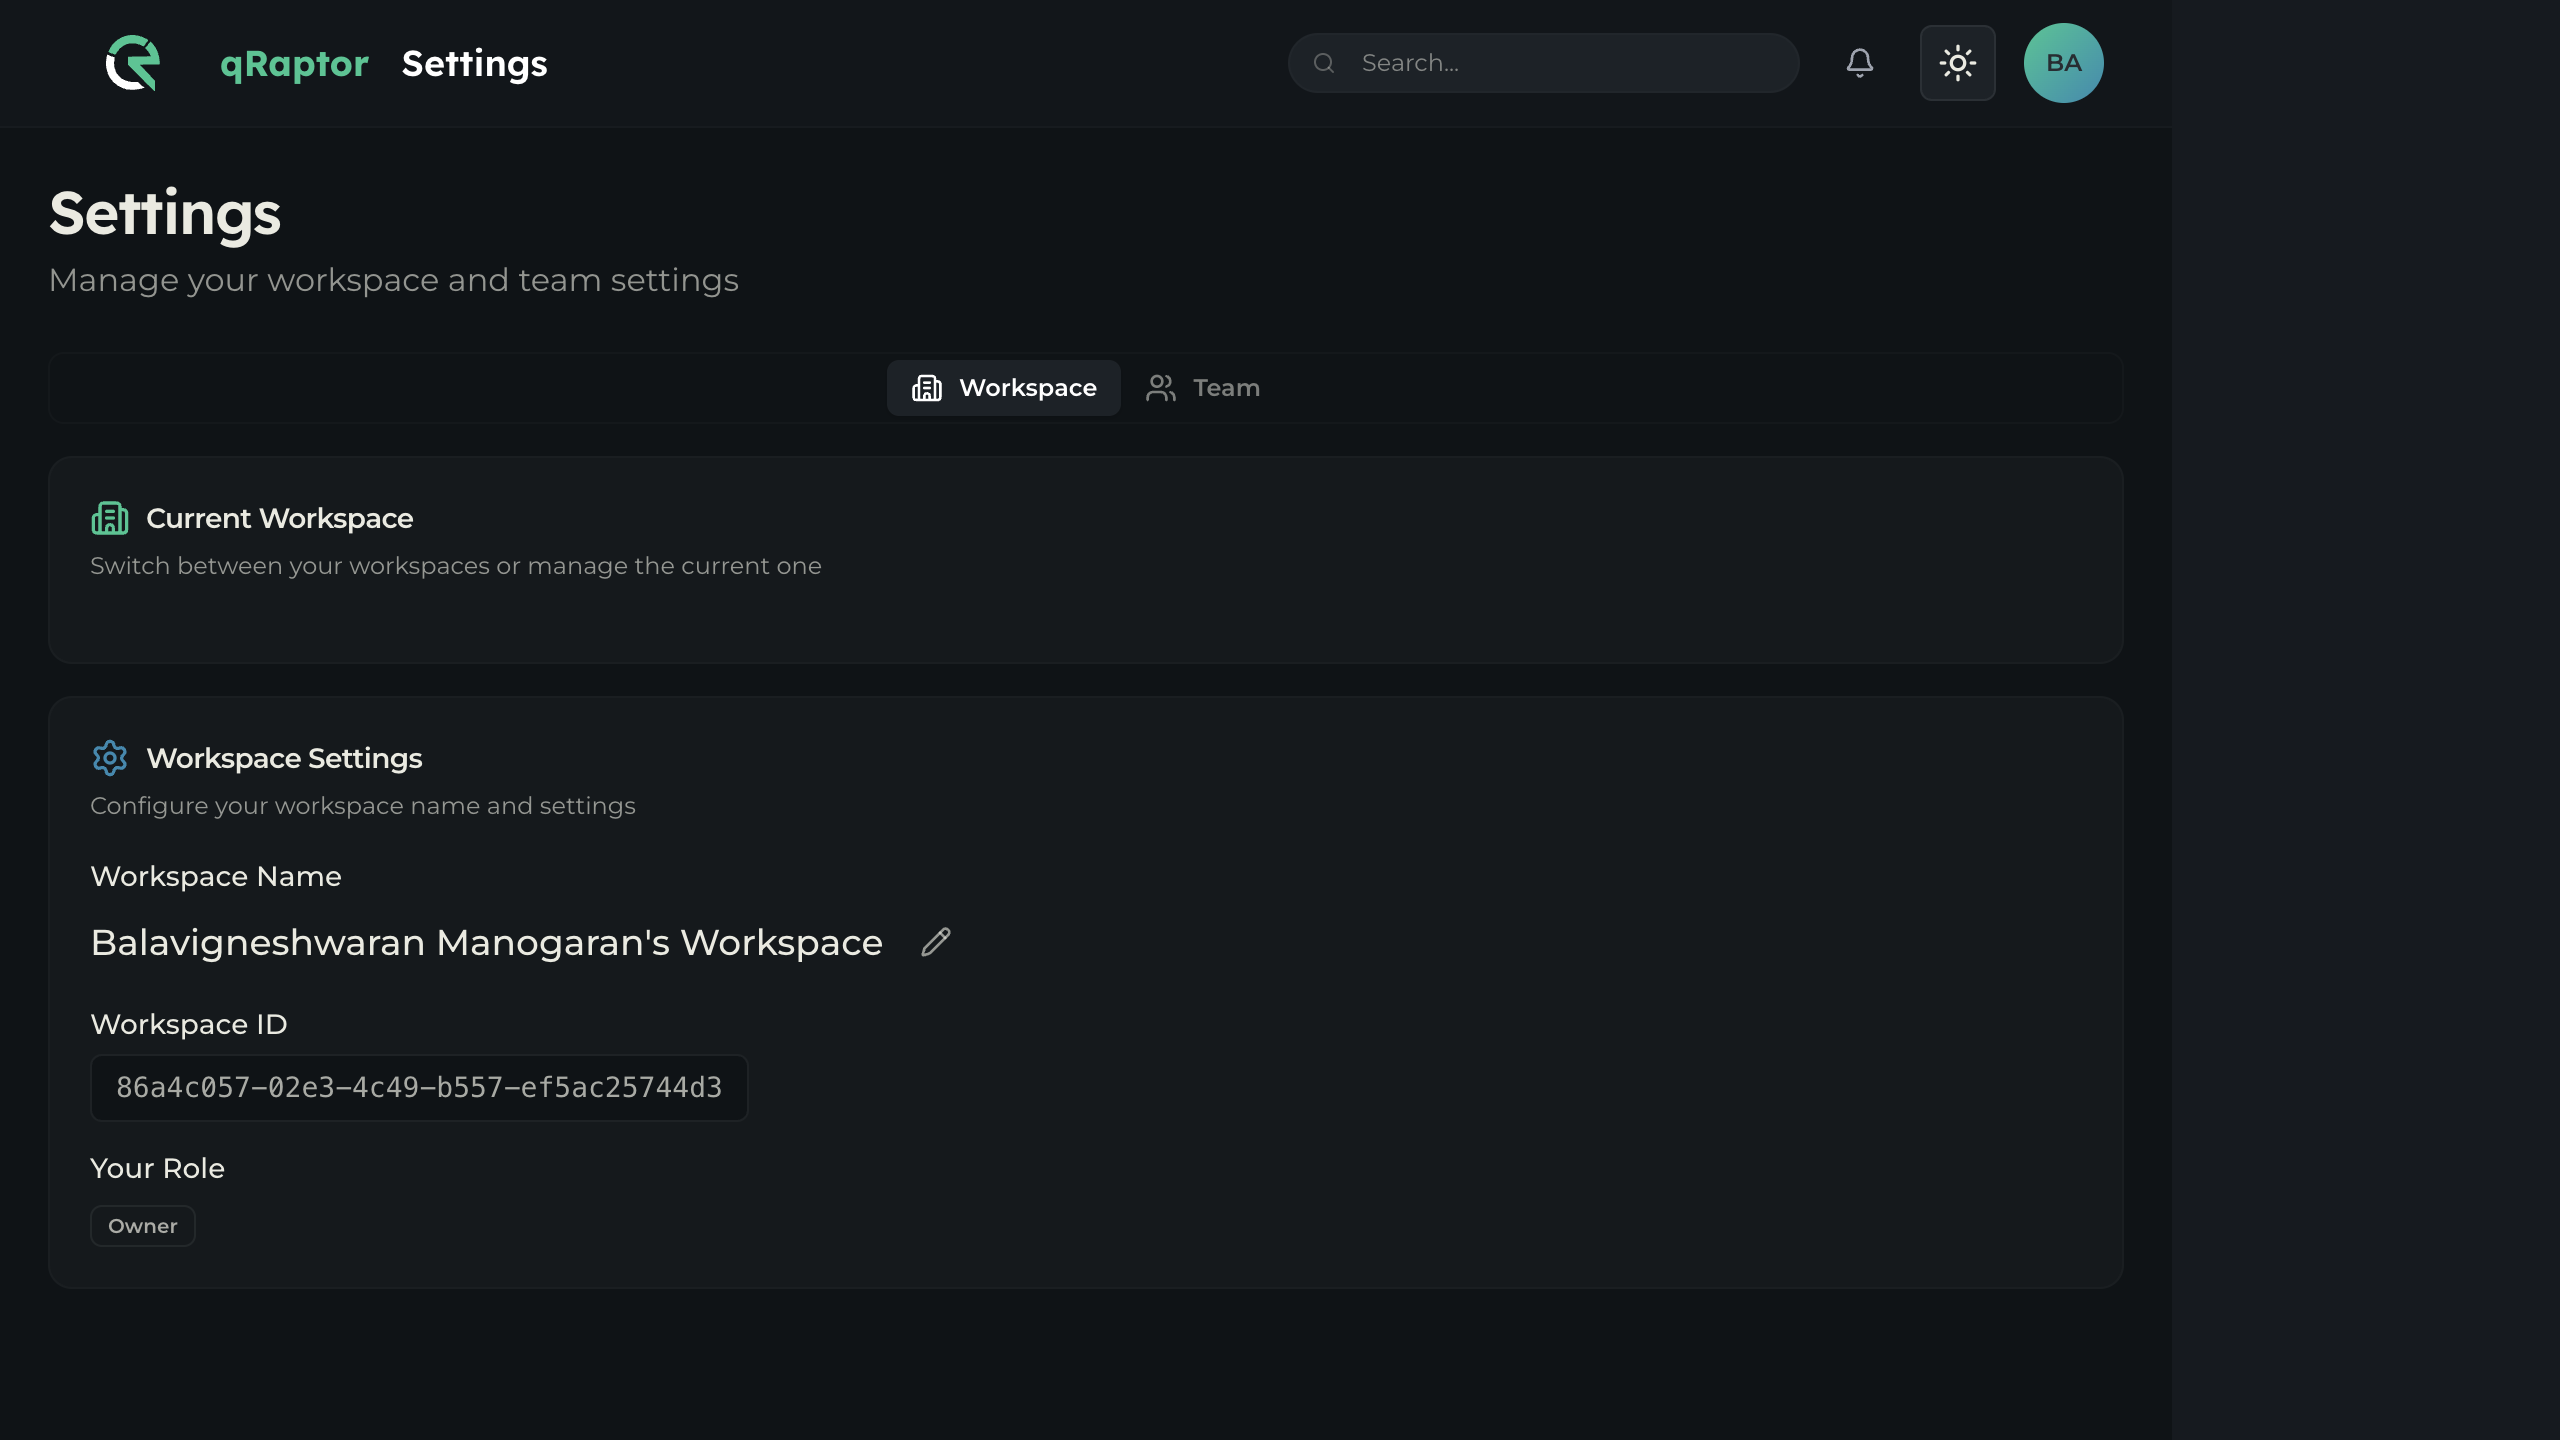
Edit workspace name
Click the edit icon next to your workspace name to change it. This is the display name shown throughout the Studio.
View workspace details
Your workspace settings display:
| Field | Description |
|---|---|
| Workspace Name | Your workspace’s display name (editable) |
| Workspace ID | Unique identifier (cannot be changed) |
| Your Role | Your role in this workspace (Owner, Admin, or Developer) |
Your role
You are automatically assigned the Owner role for your workspace. Owners have full control over billing, members, and all projects.
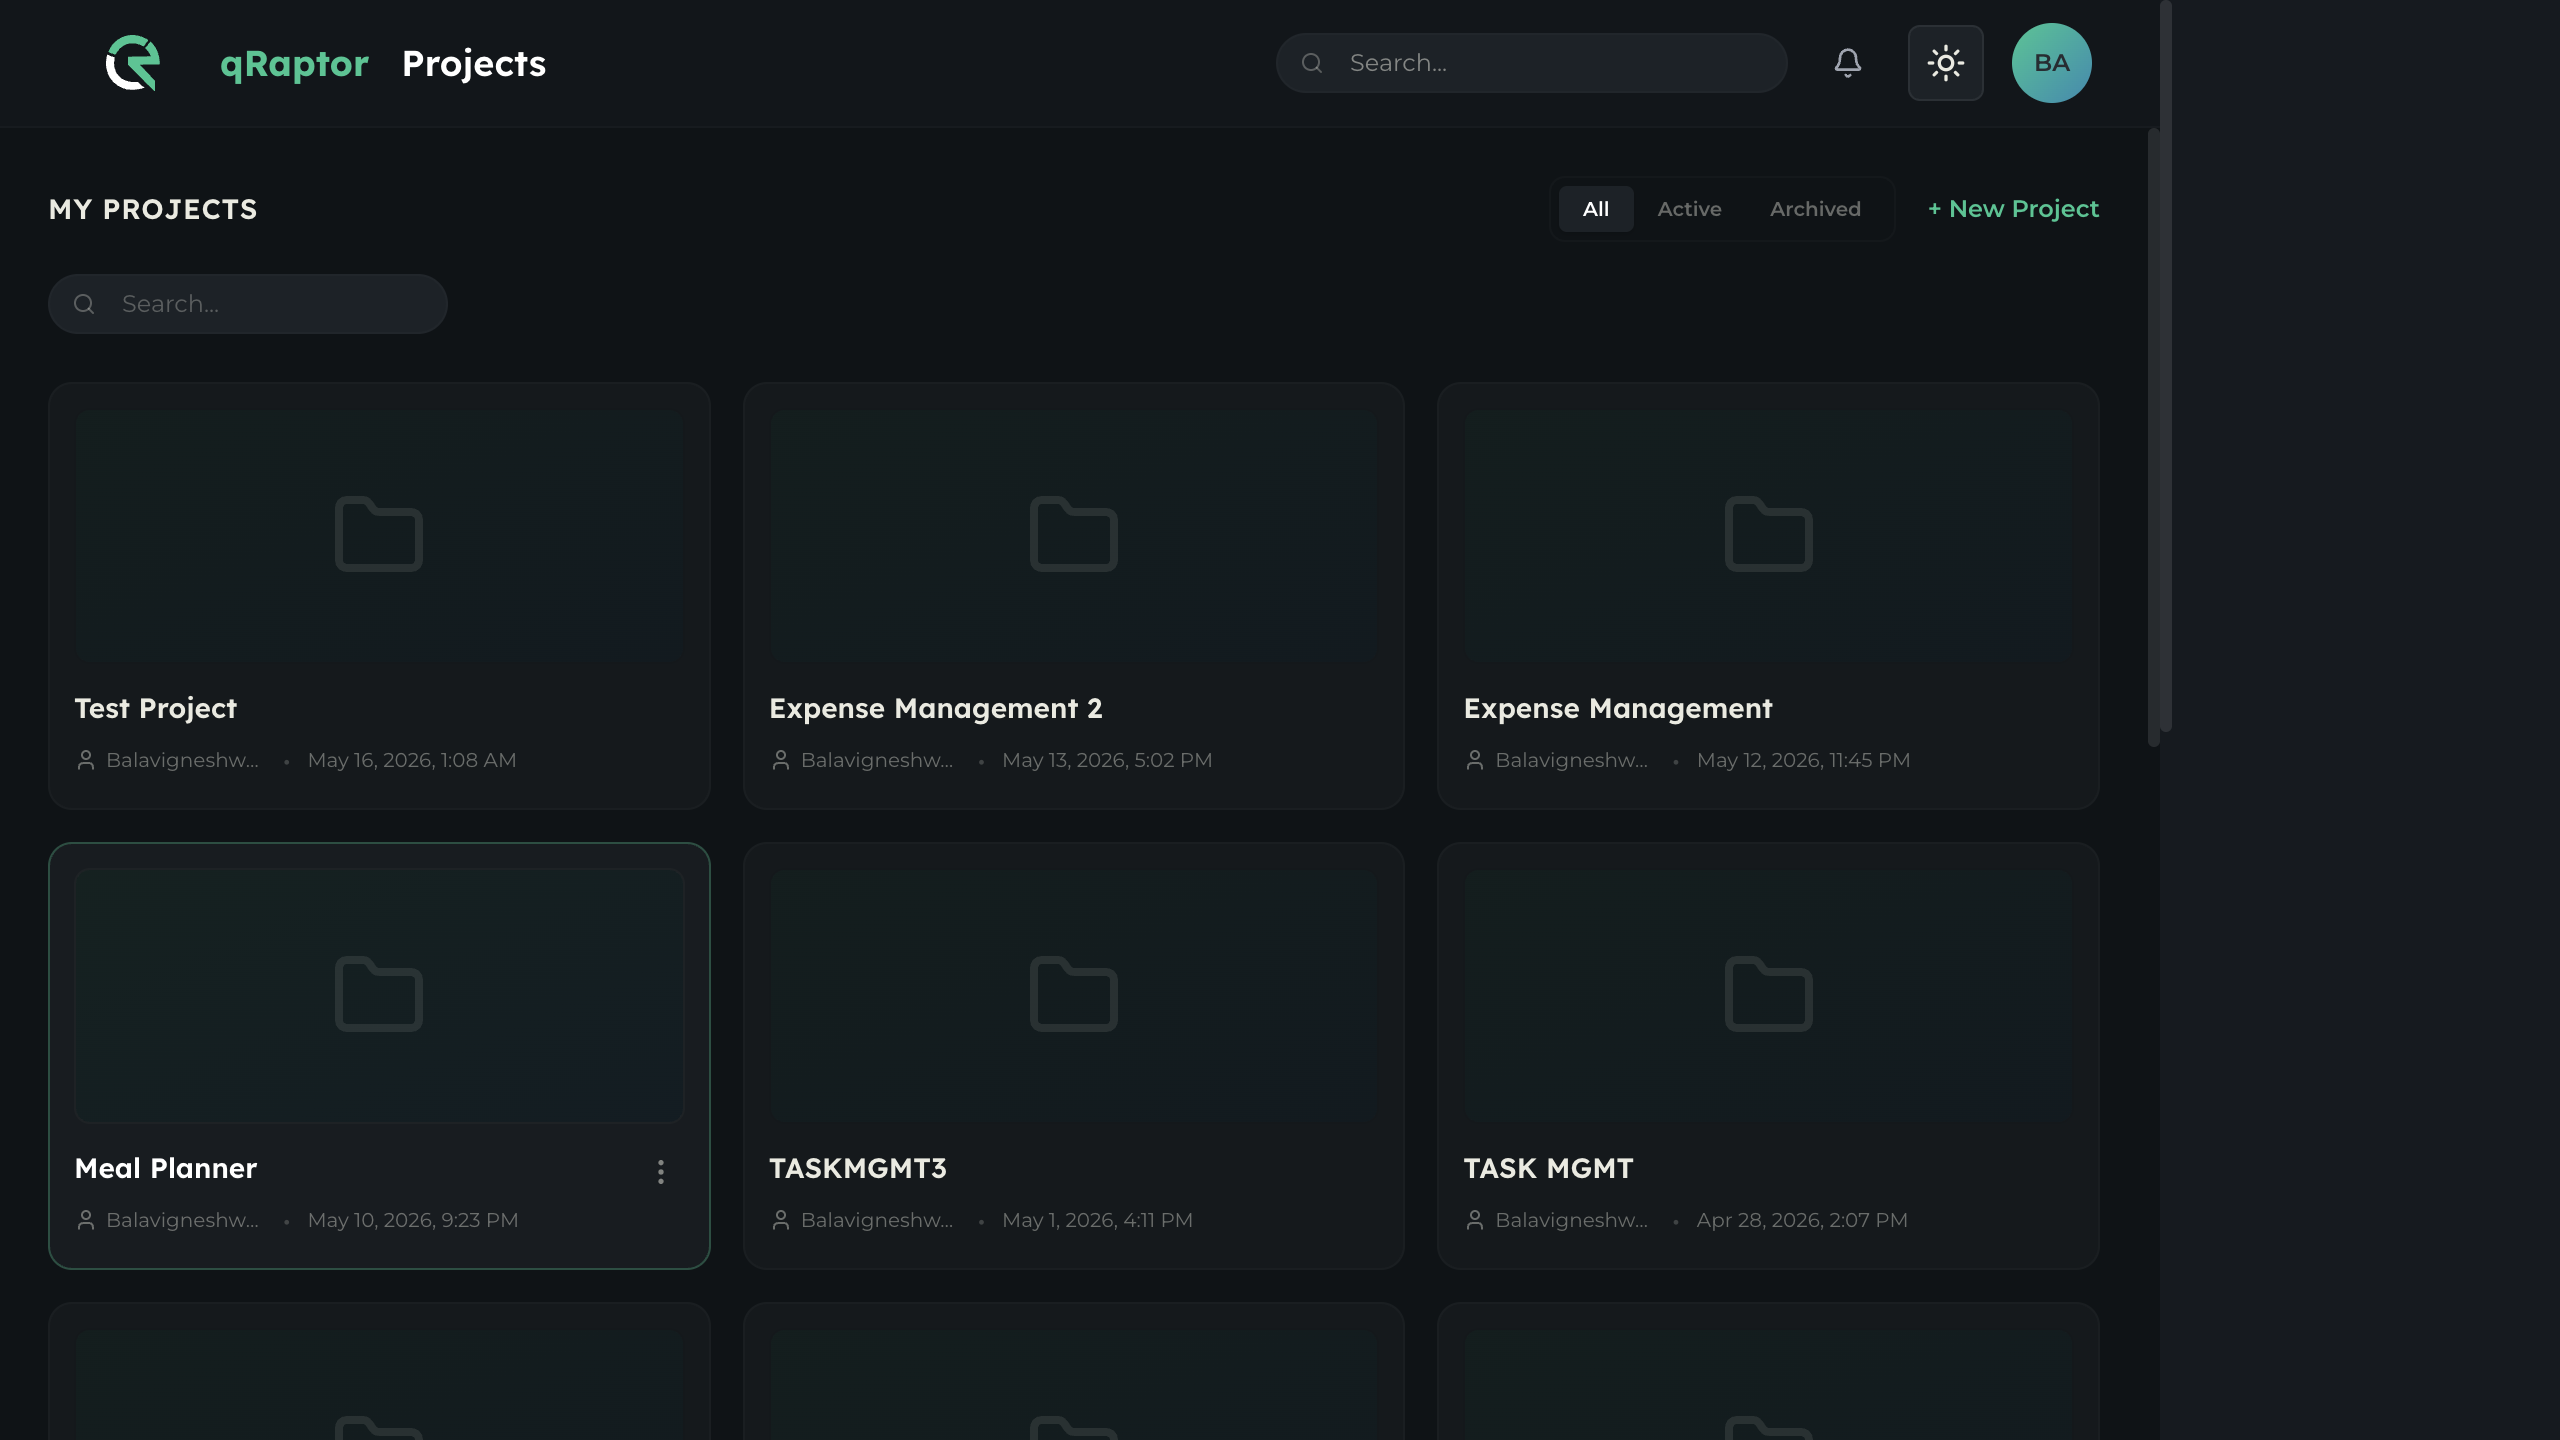
What’s in your workspace
After setup, your workspace contains:
- The Projects page — where you create and manage projects.
- Settings — workspace configuration, team management, and billing.
- The search bar and theme toggle in the header.
Common issues
- Cannot find workspace settings — Click your avatar (initials) in the top-right corner, then select Settings.
- Workspace name too long — Keep it under 64 characters.