Start node
The Start node is the entry point for every Task Agent workflow. It’s always present on the canvas and cannot be deleted. It defines what input data the agent receives and how it’s initiated.
On the canvas, the Start node displays its name and trigger mode (e.g., “Manual”).
Configuration
Click the Start node, then click the gear icon (Configure node) to open its settings panel.
The panel shows:
- Title: “Start Node — Configure workflow entry point”
- Two sections: Input Variables and Initiation Form
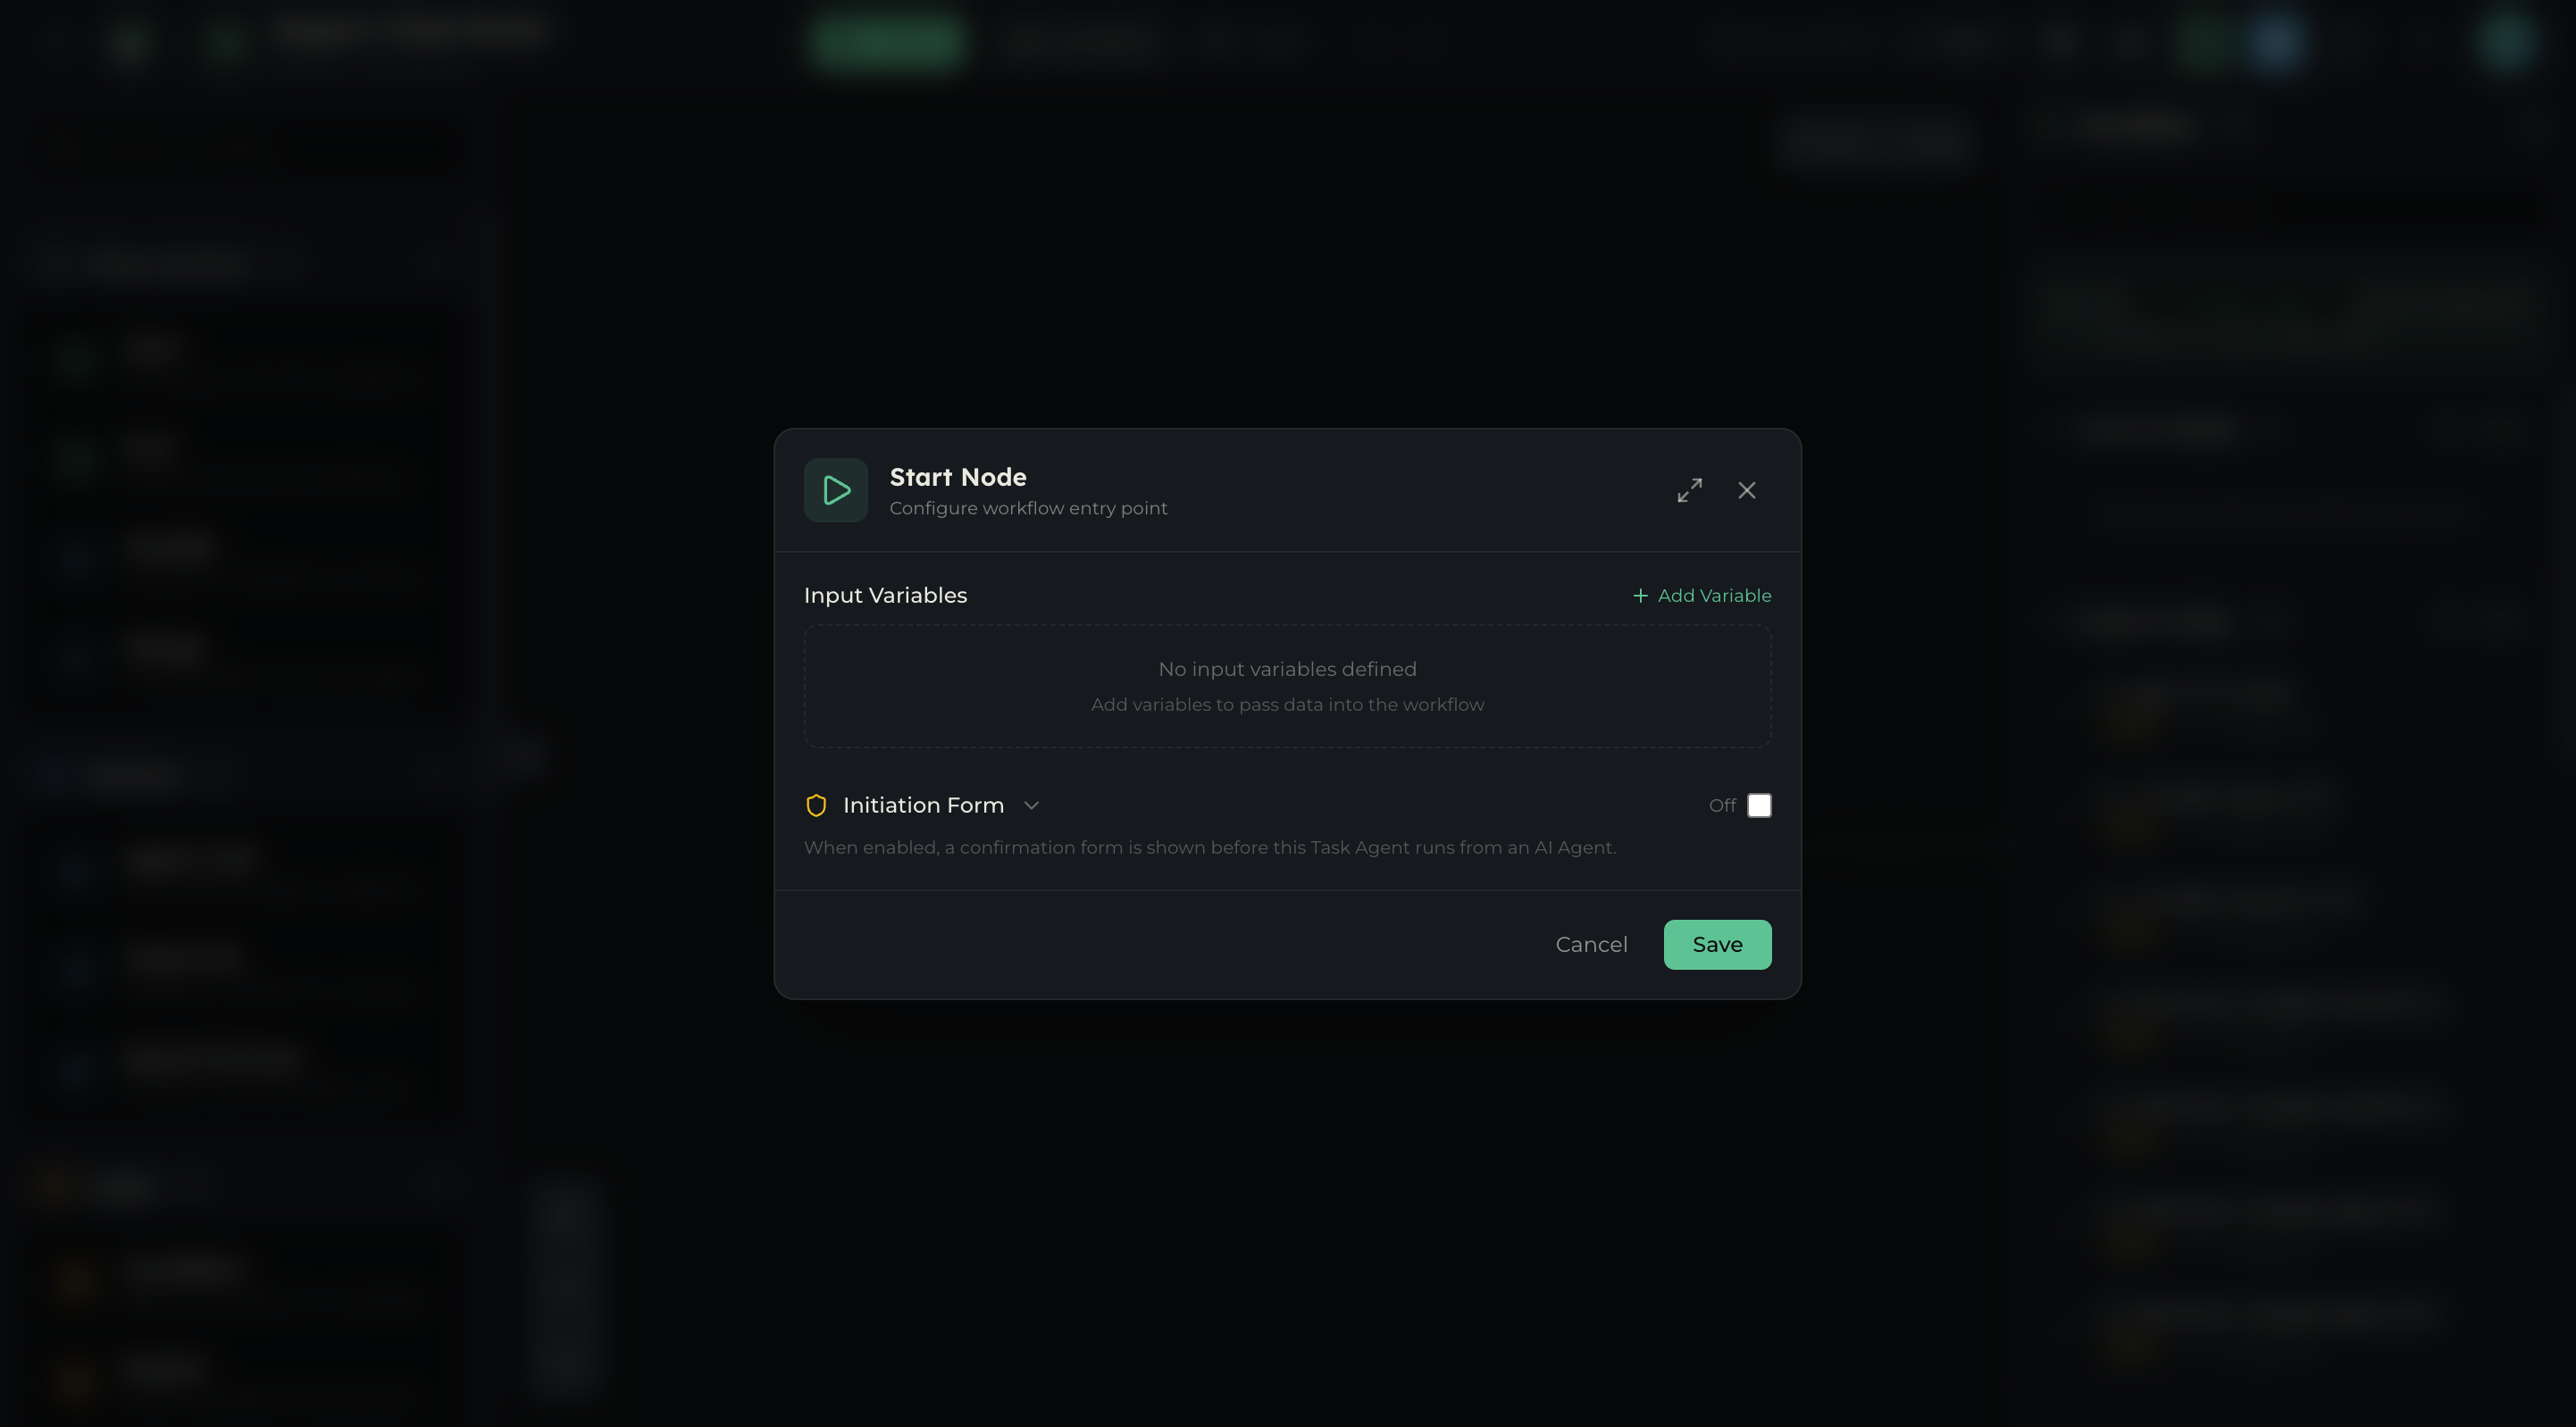
Input Variables
Input Variables define the data your workflow receives when invoked. They become available to all downstream nodes.
Click Add Variable to create a new input. Each variable has:
| Field | Description |
|---|---|
| Name | Variable identifier (referenced as {{ variable_name }} in downstream nodes) |
| Type | Data type the variable accepts |
| Required | Whether the variable must be provided when invoking the agent |
For chat-based agents, add a message variable of type string. This is what the user’s message maps to when the agent is invoked via chat.
Initiation Form
The Initiation Form toggle controls whether a confirmation form appears before this Task Agent runs when called from an AI Agent.
- Off (default) — The agent executes immediately when called.
- On — A confirmation form is shown to the user before execution begins. Useful for high-stakes actions where you want human acknowledgment.
The Initiation Form is only relevant when this Task Agent is called from another agent (e.g., via the Agent Call node). It has no effect when the agent is invoked directly.
Common patterns
- Chat agent — Add a
message: stringinput variable. Leave Initiation Form off. - Data pipeline — Add structured inputs (e.g.,
customer_id: string,action: string). Leave Initiation Form off. - High-stakes action — Add inputs for the action details. Enable Initiation Form so a human confirms before execution.