Create a Task Agent
By the end of this page you will have a new Task Agent ready for building on the canvas.
Prerequisites
- A project created (Create your first project).
- Owner, Admin, or Developer role.
Steps
Navigate to the Agentic Workspace
In your project sidebar, click Agentic Workspace to expand it, then click Agents. You land on the Agents tab — this shows all agents in the project.
The page heading reads Agentic Workspace with three tabs: Agents, MAS Systems, and Agent Personas. Below those tabs is the Agent Management section with a search box, Filter/Sort buttons, and the Create Agent button.
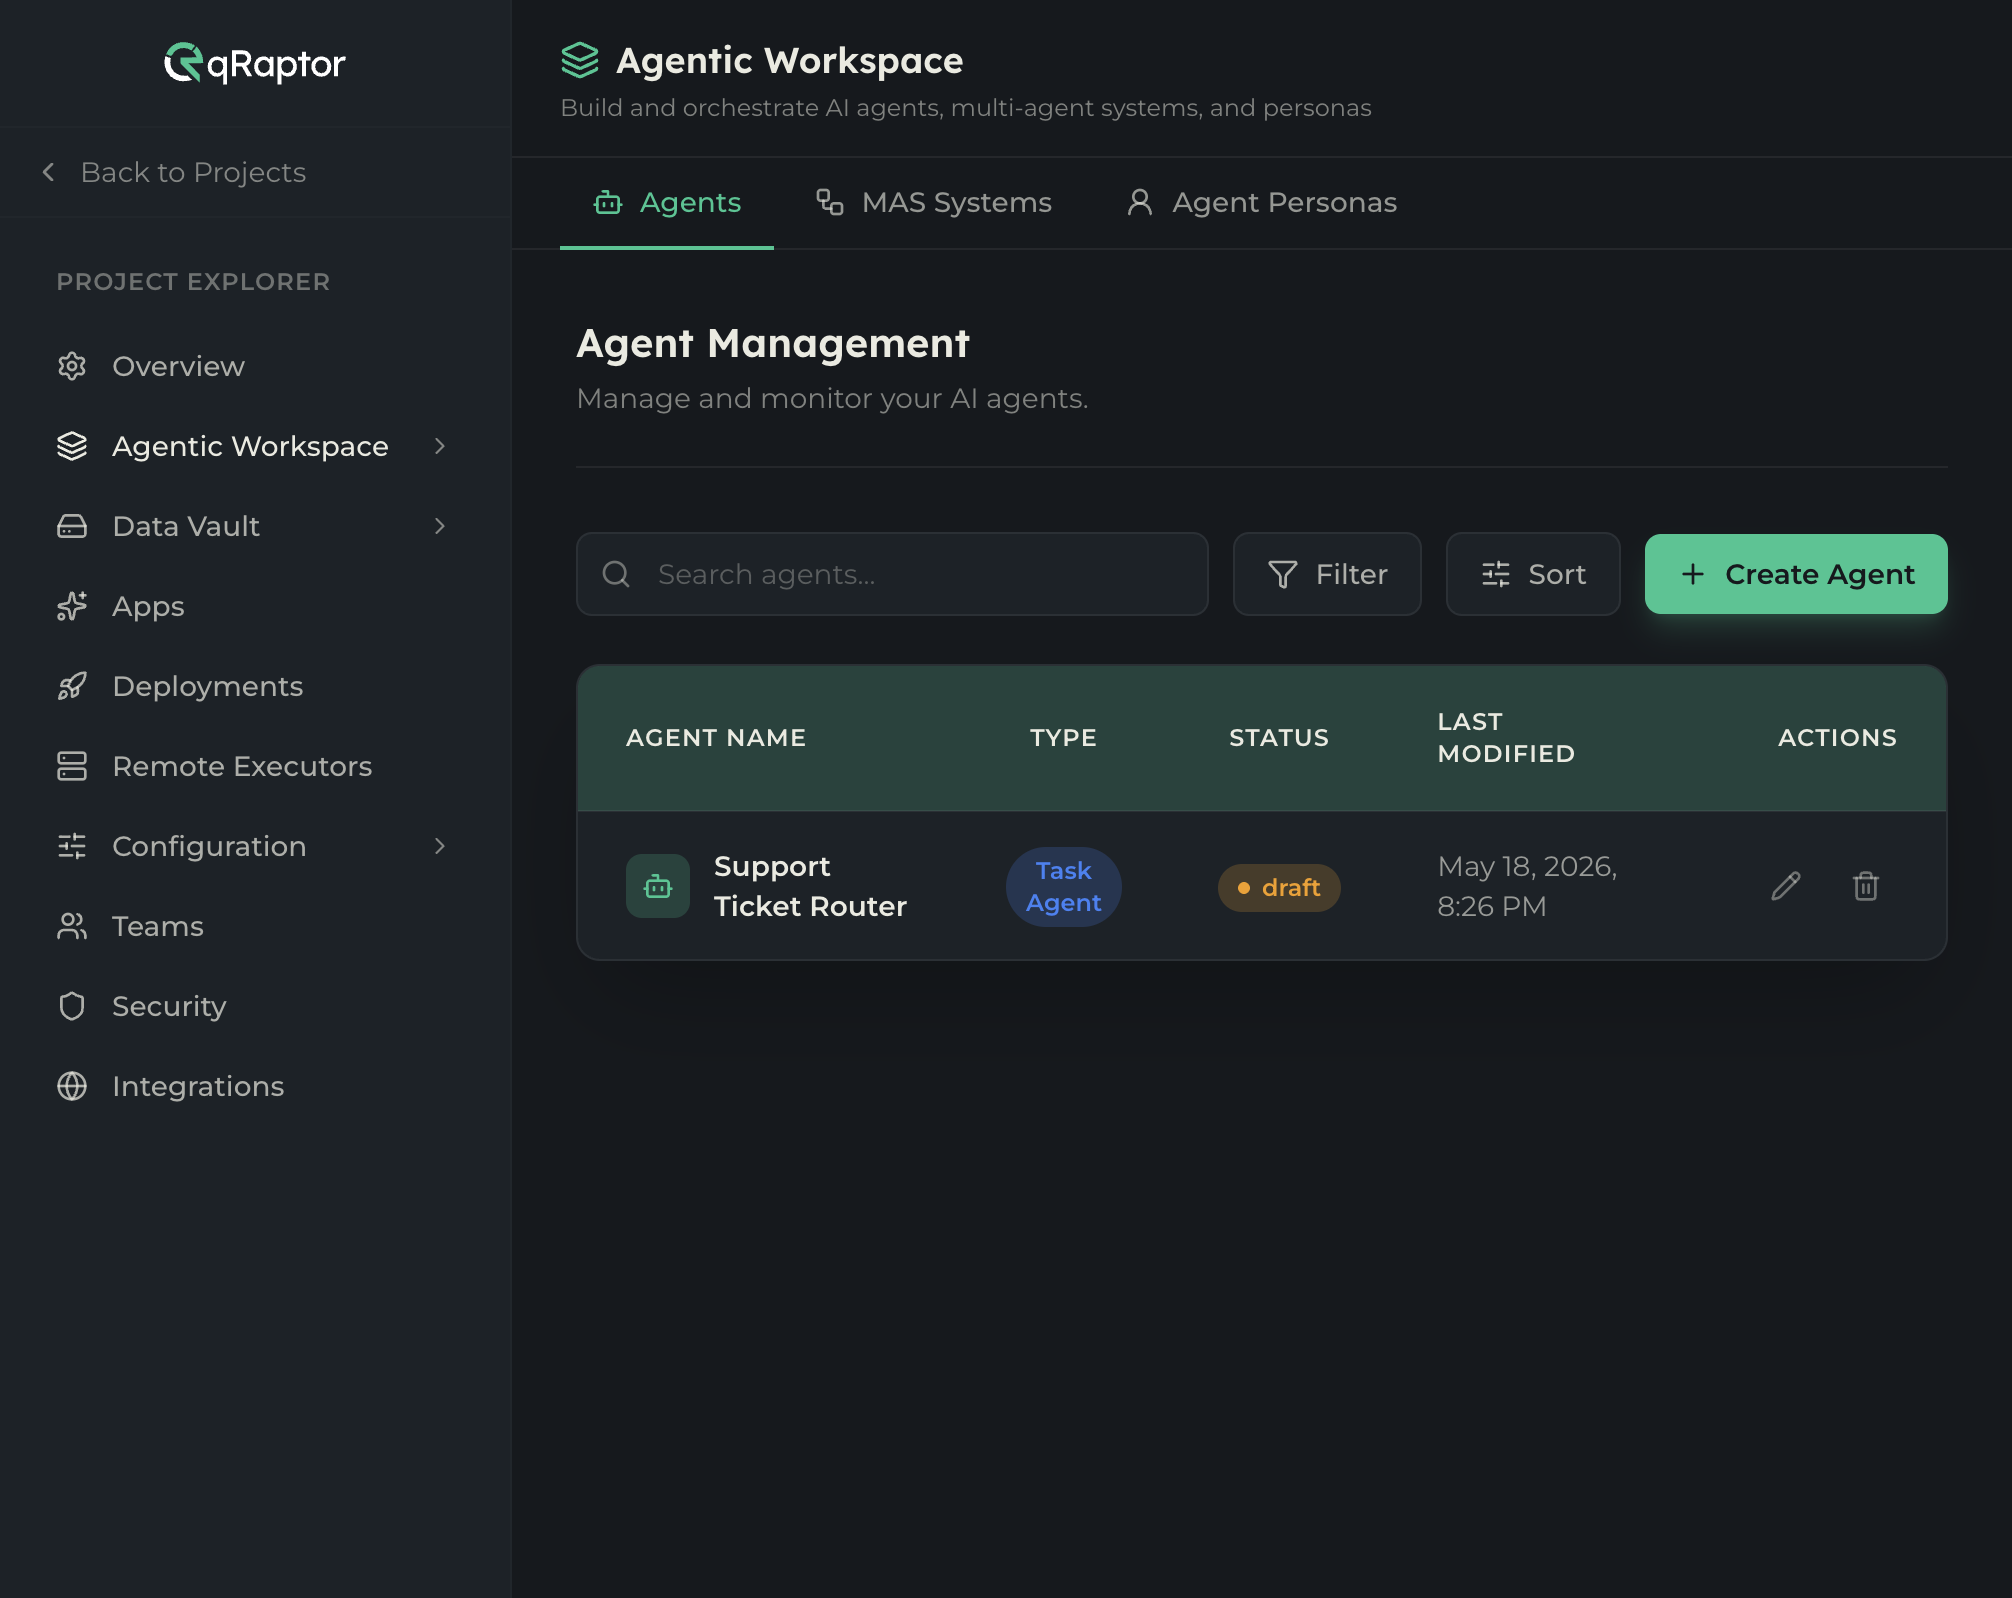
Click Create Agent
Click the Create Agent button in the top-right of the Agent Management section. A dialog opens asking you to choose the agent type.
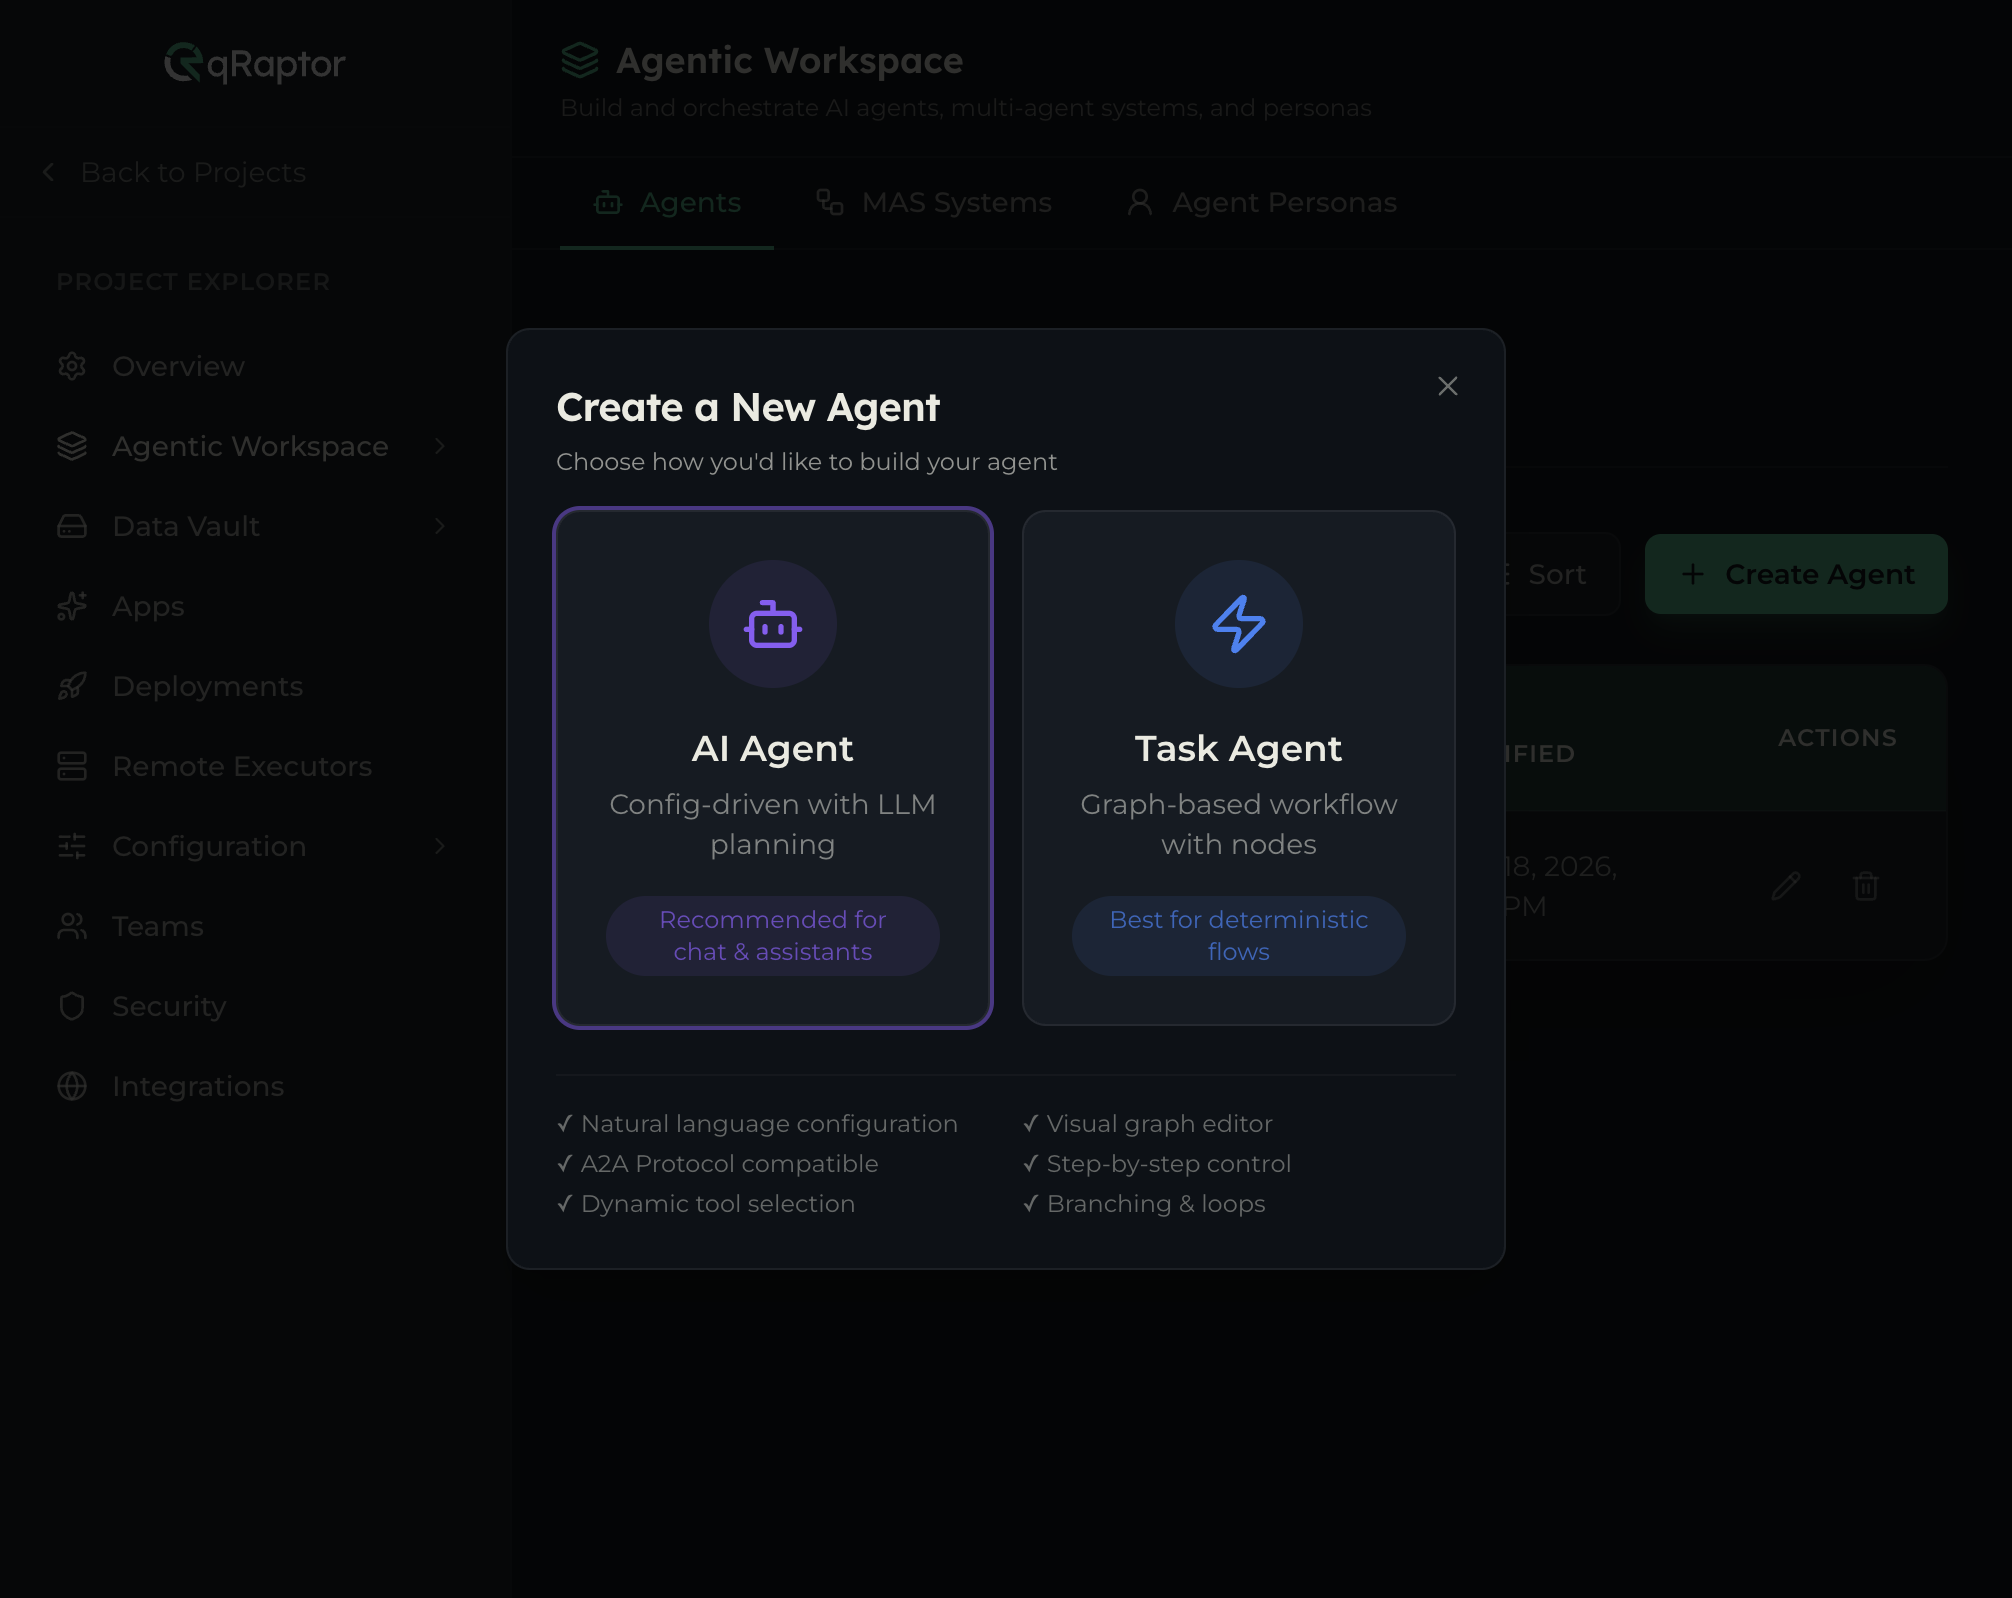
Choose the agent type
The dialog shows two cards:
| Type | Description | Best for |
|---|---|---|
| AI Agent | Config-driven with LLM planning | Chat & assistants |
| Task Agent | Graph-based workflow with nodes | Deterministic flows |
Each card lists key features:
- AI Agent — Natural language configuration, A2A Protocol compatible, Dynamic tool selection
- Task Agent — Visual graph editor, Step-by-step control, Branching & loops
Click the Task Agent card. The wizard advances to the first step.
Step 1 — Basics (required)
The wizard header shows three steps: Basics → Input/Output (Optional) → Behavior (Optional). You’re on Basics.
A “Task Agent” badge appears at the top, followed by the heading “Name your agent & describe its purpose” and the note “You can configure everything else in the Agent Editor after creation.”
Fill in:
- Agent Name (required) — Give your agent a clear name (e.g., “Support Ticket Router”). Minimum 2 characters.
- Description (required) — Describe what the agent does. Minimum 10 characters. Use the AI Generate button to auto-generate a description from the name.
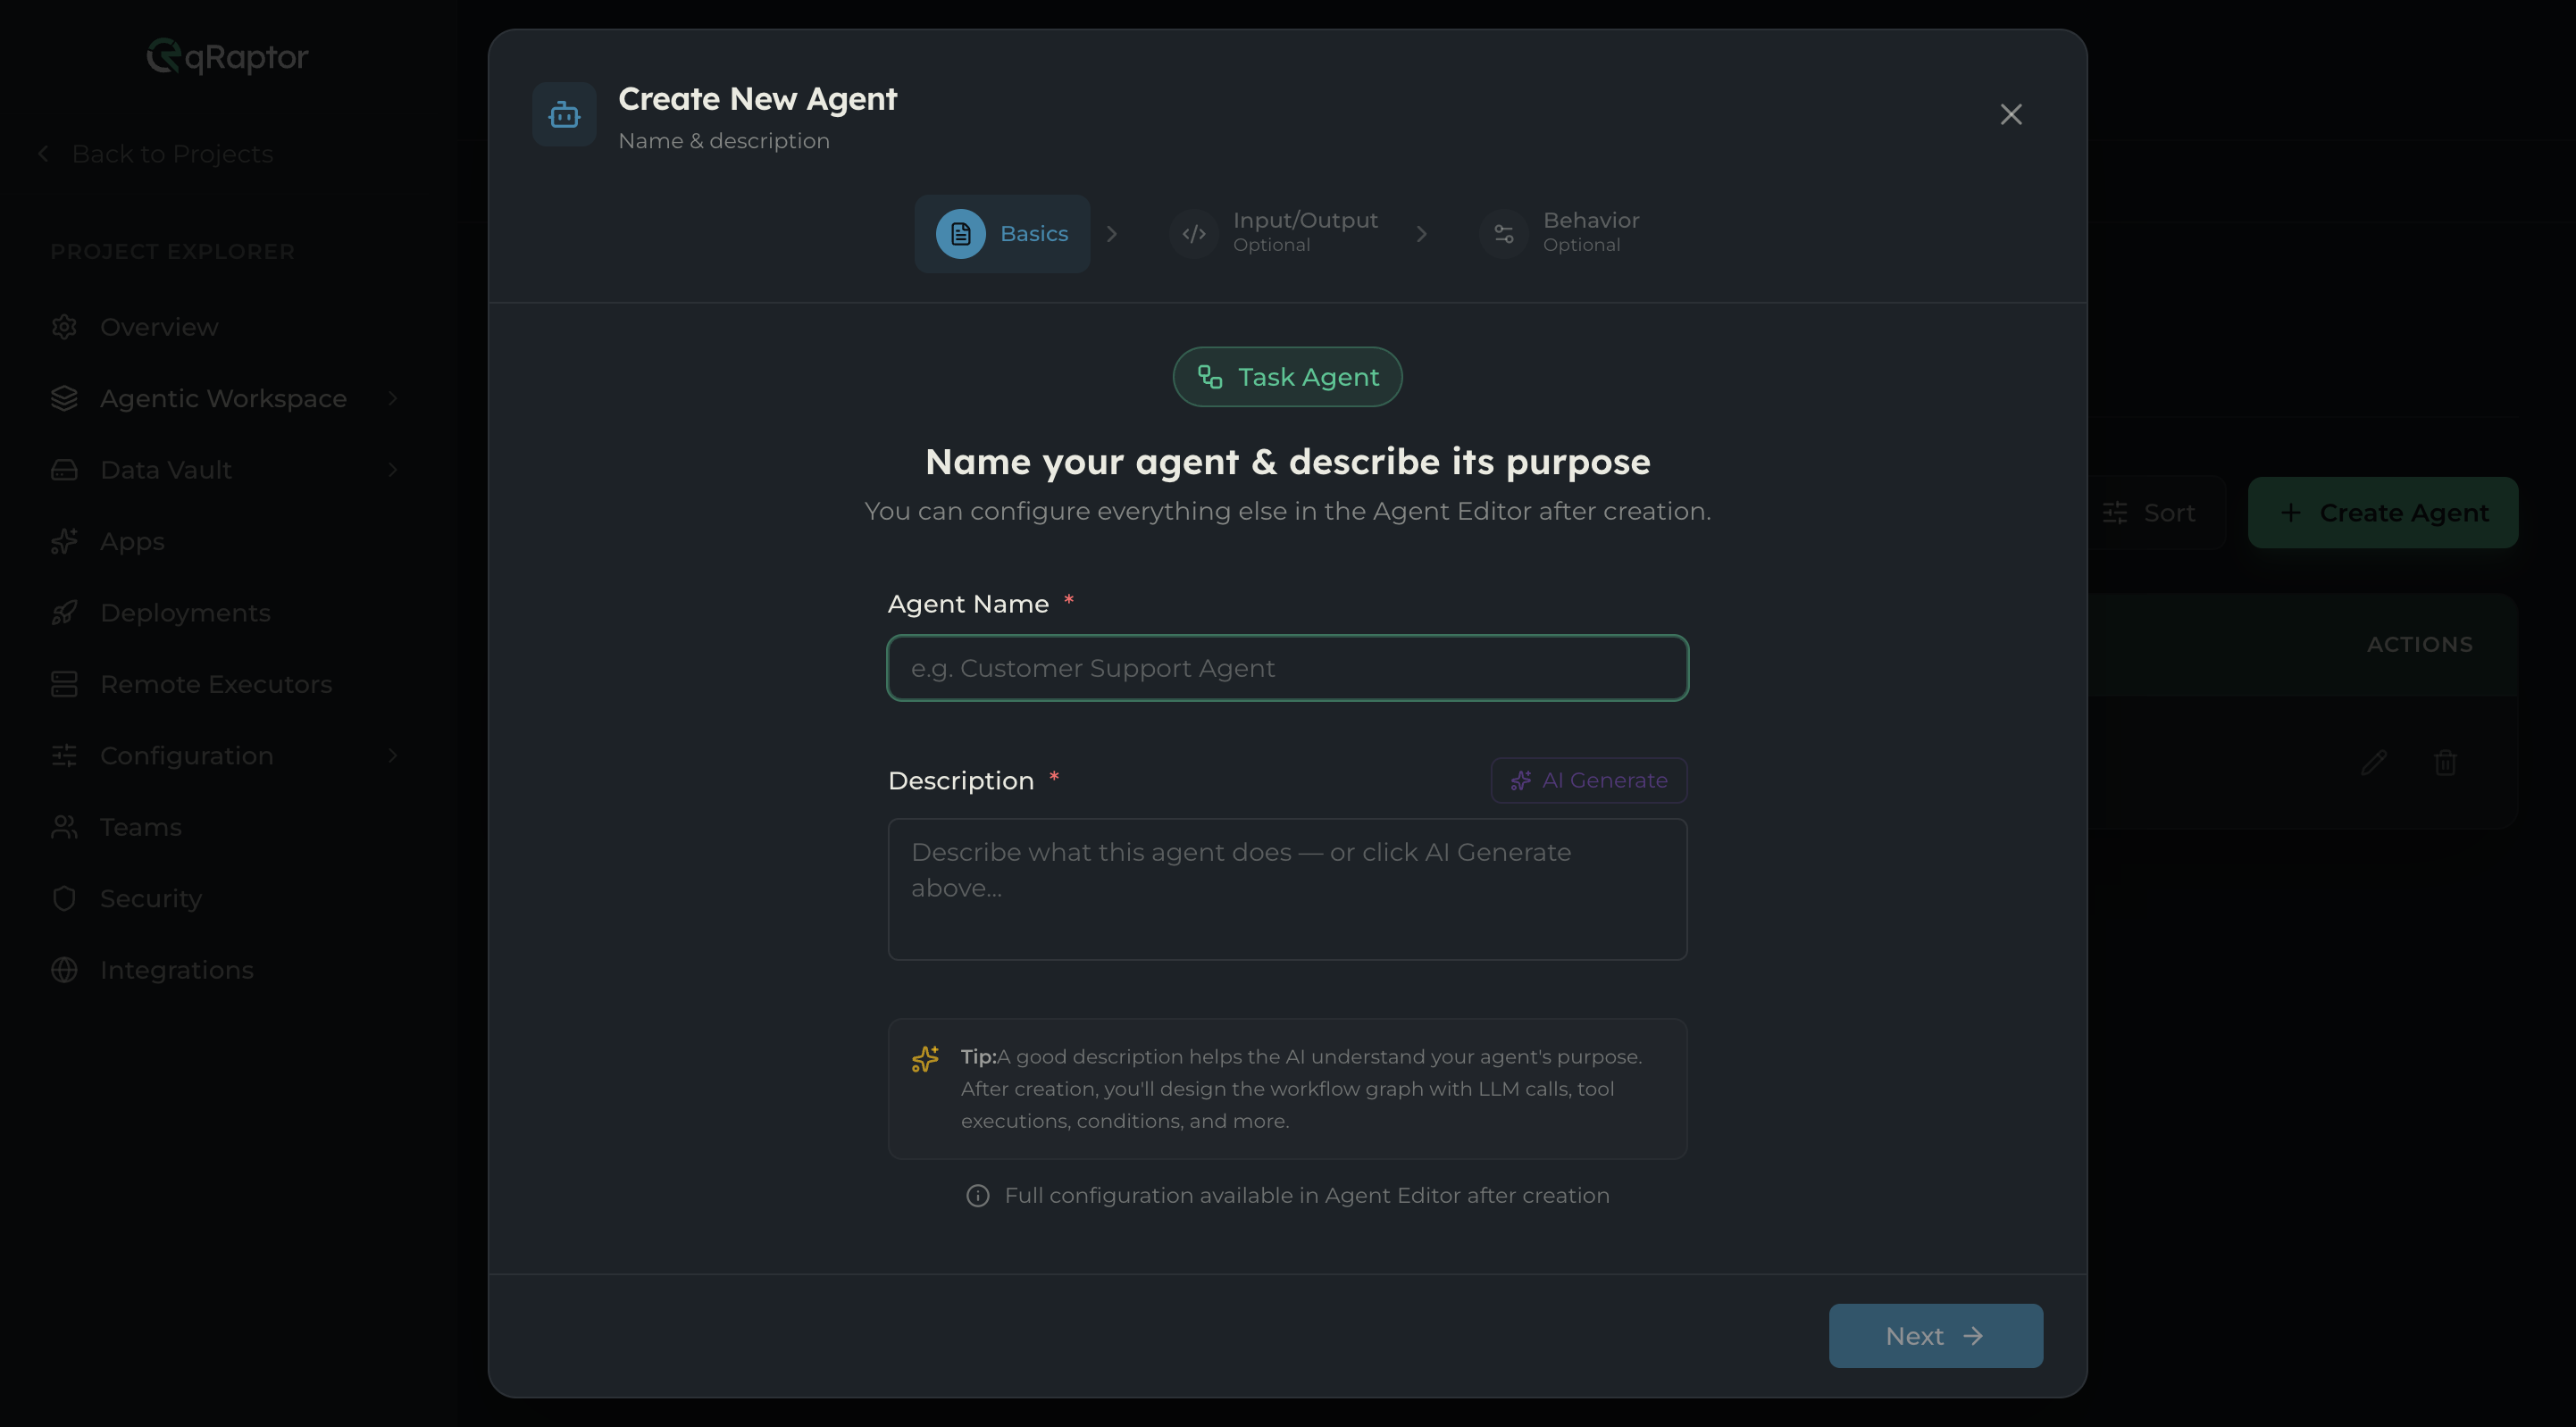
A good description helps the AI understand your agent’s purpose. After creation, you’ll design the workflow graph with LLM calls, tool executions, conditions, and more.
Click Next to proceed, or continue to create with just the basics — the remaining steps are optional.
Step 2 — Input/Output (optional)
This step defines what data your agent receives and produces. The heading reads “Define Input & Output” with the subtitle “What data does your agent receive and produce?”
Choose from six presets:
| Preset | Description |
|---|---|
| task | Task execution with result |
| extraction | Extract structured data from content |
| classification | Classify input into categories |
| planner | Generate a plan of action |
| report | Generate a report or summary |
| Custom | Write your own schema |
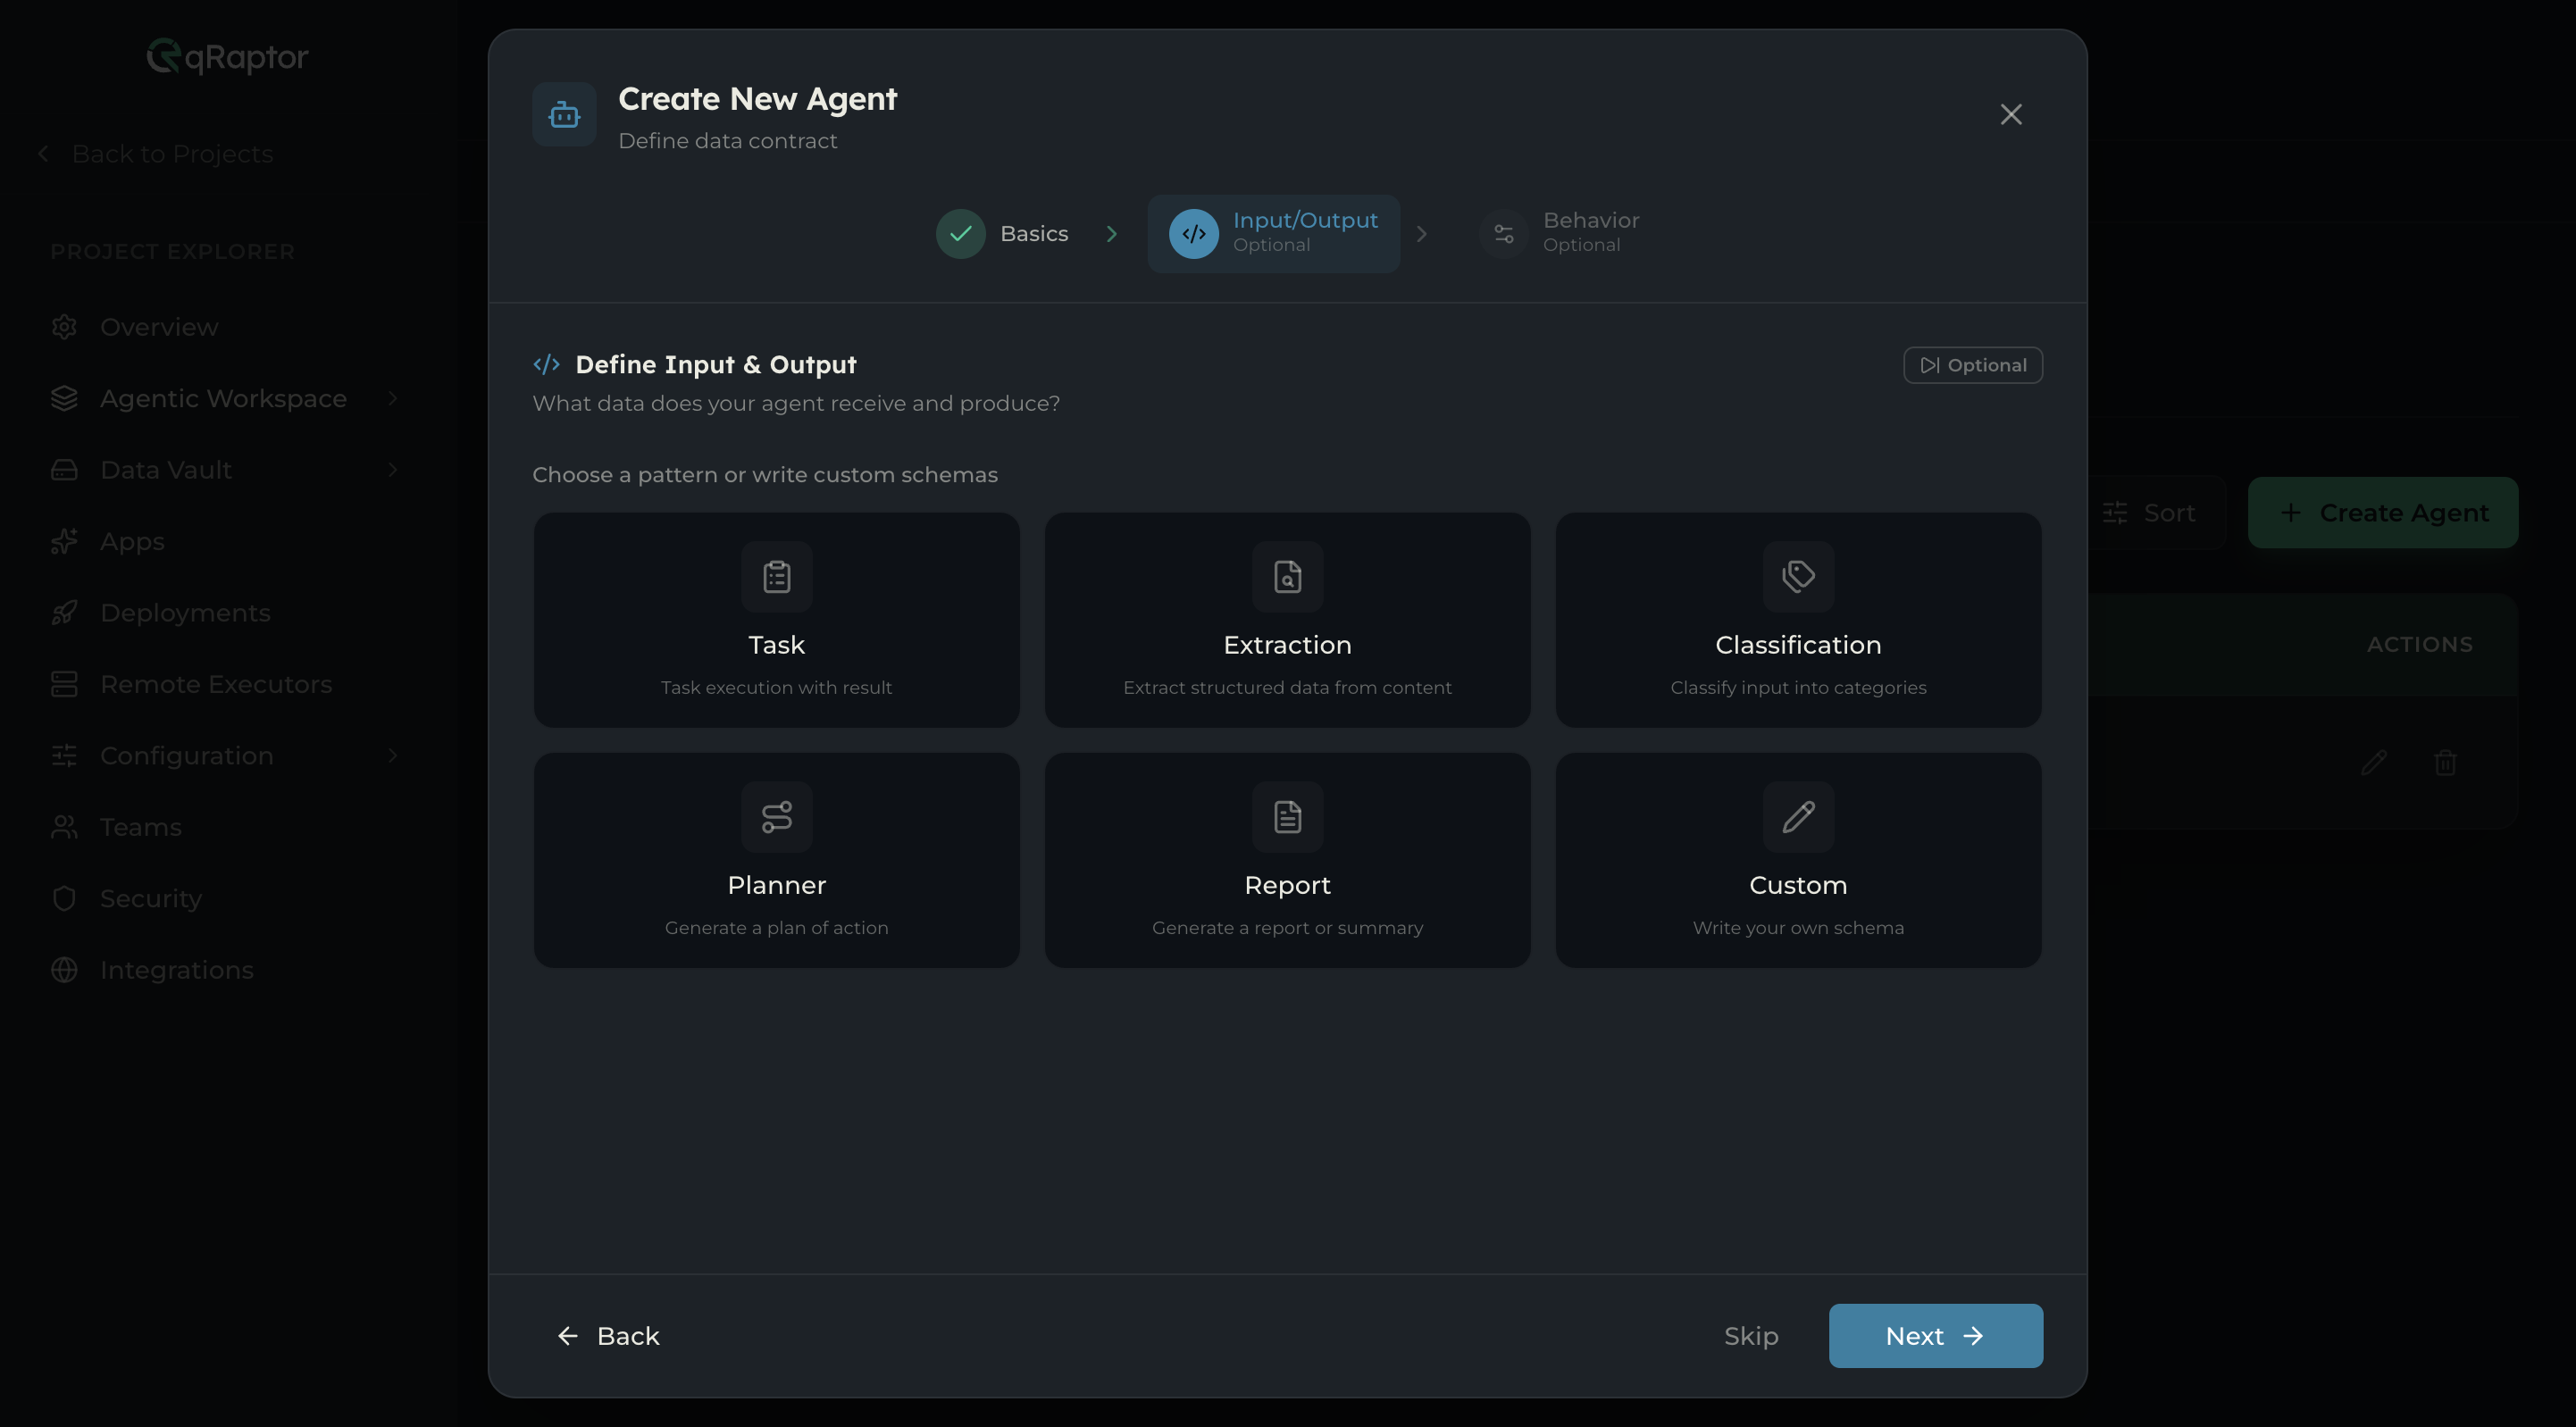
Click a preset to select it, then click Next. Or click Skip to leave schemas undefined (you can add them later in the Agent Editor).
Step 3 — Behavior (optional)
The final step configures the runtime. The heading reads “Runtime Configuration” with the subtitle “Choose which LLM and policy to use when this agent runs.”
Two sections:
LLM Configuration — Defaults to Project Default (“Uses whatever is configured at project level”). Click Change model to pick a specific model from the available options.
Policy (Guardrails) — Attach a policy to control agent behavior boundaries. If no policies exist in your project, a message directs you to create them in Configuration → Policies.
A Ready to Create summary card at the bottom shows your selections:
- LLM Config → Project Default (or your chosen model)
- Policy → None (or your chosen policy)
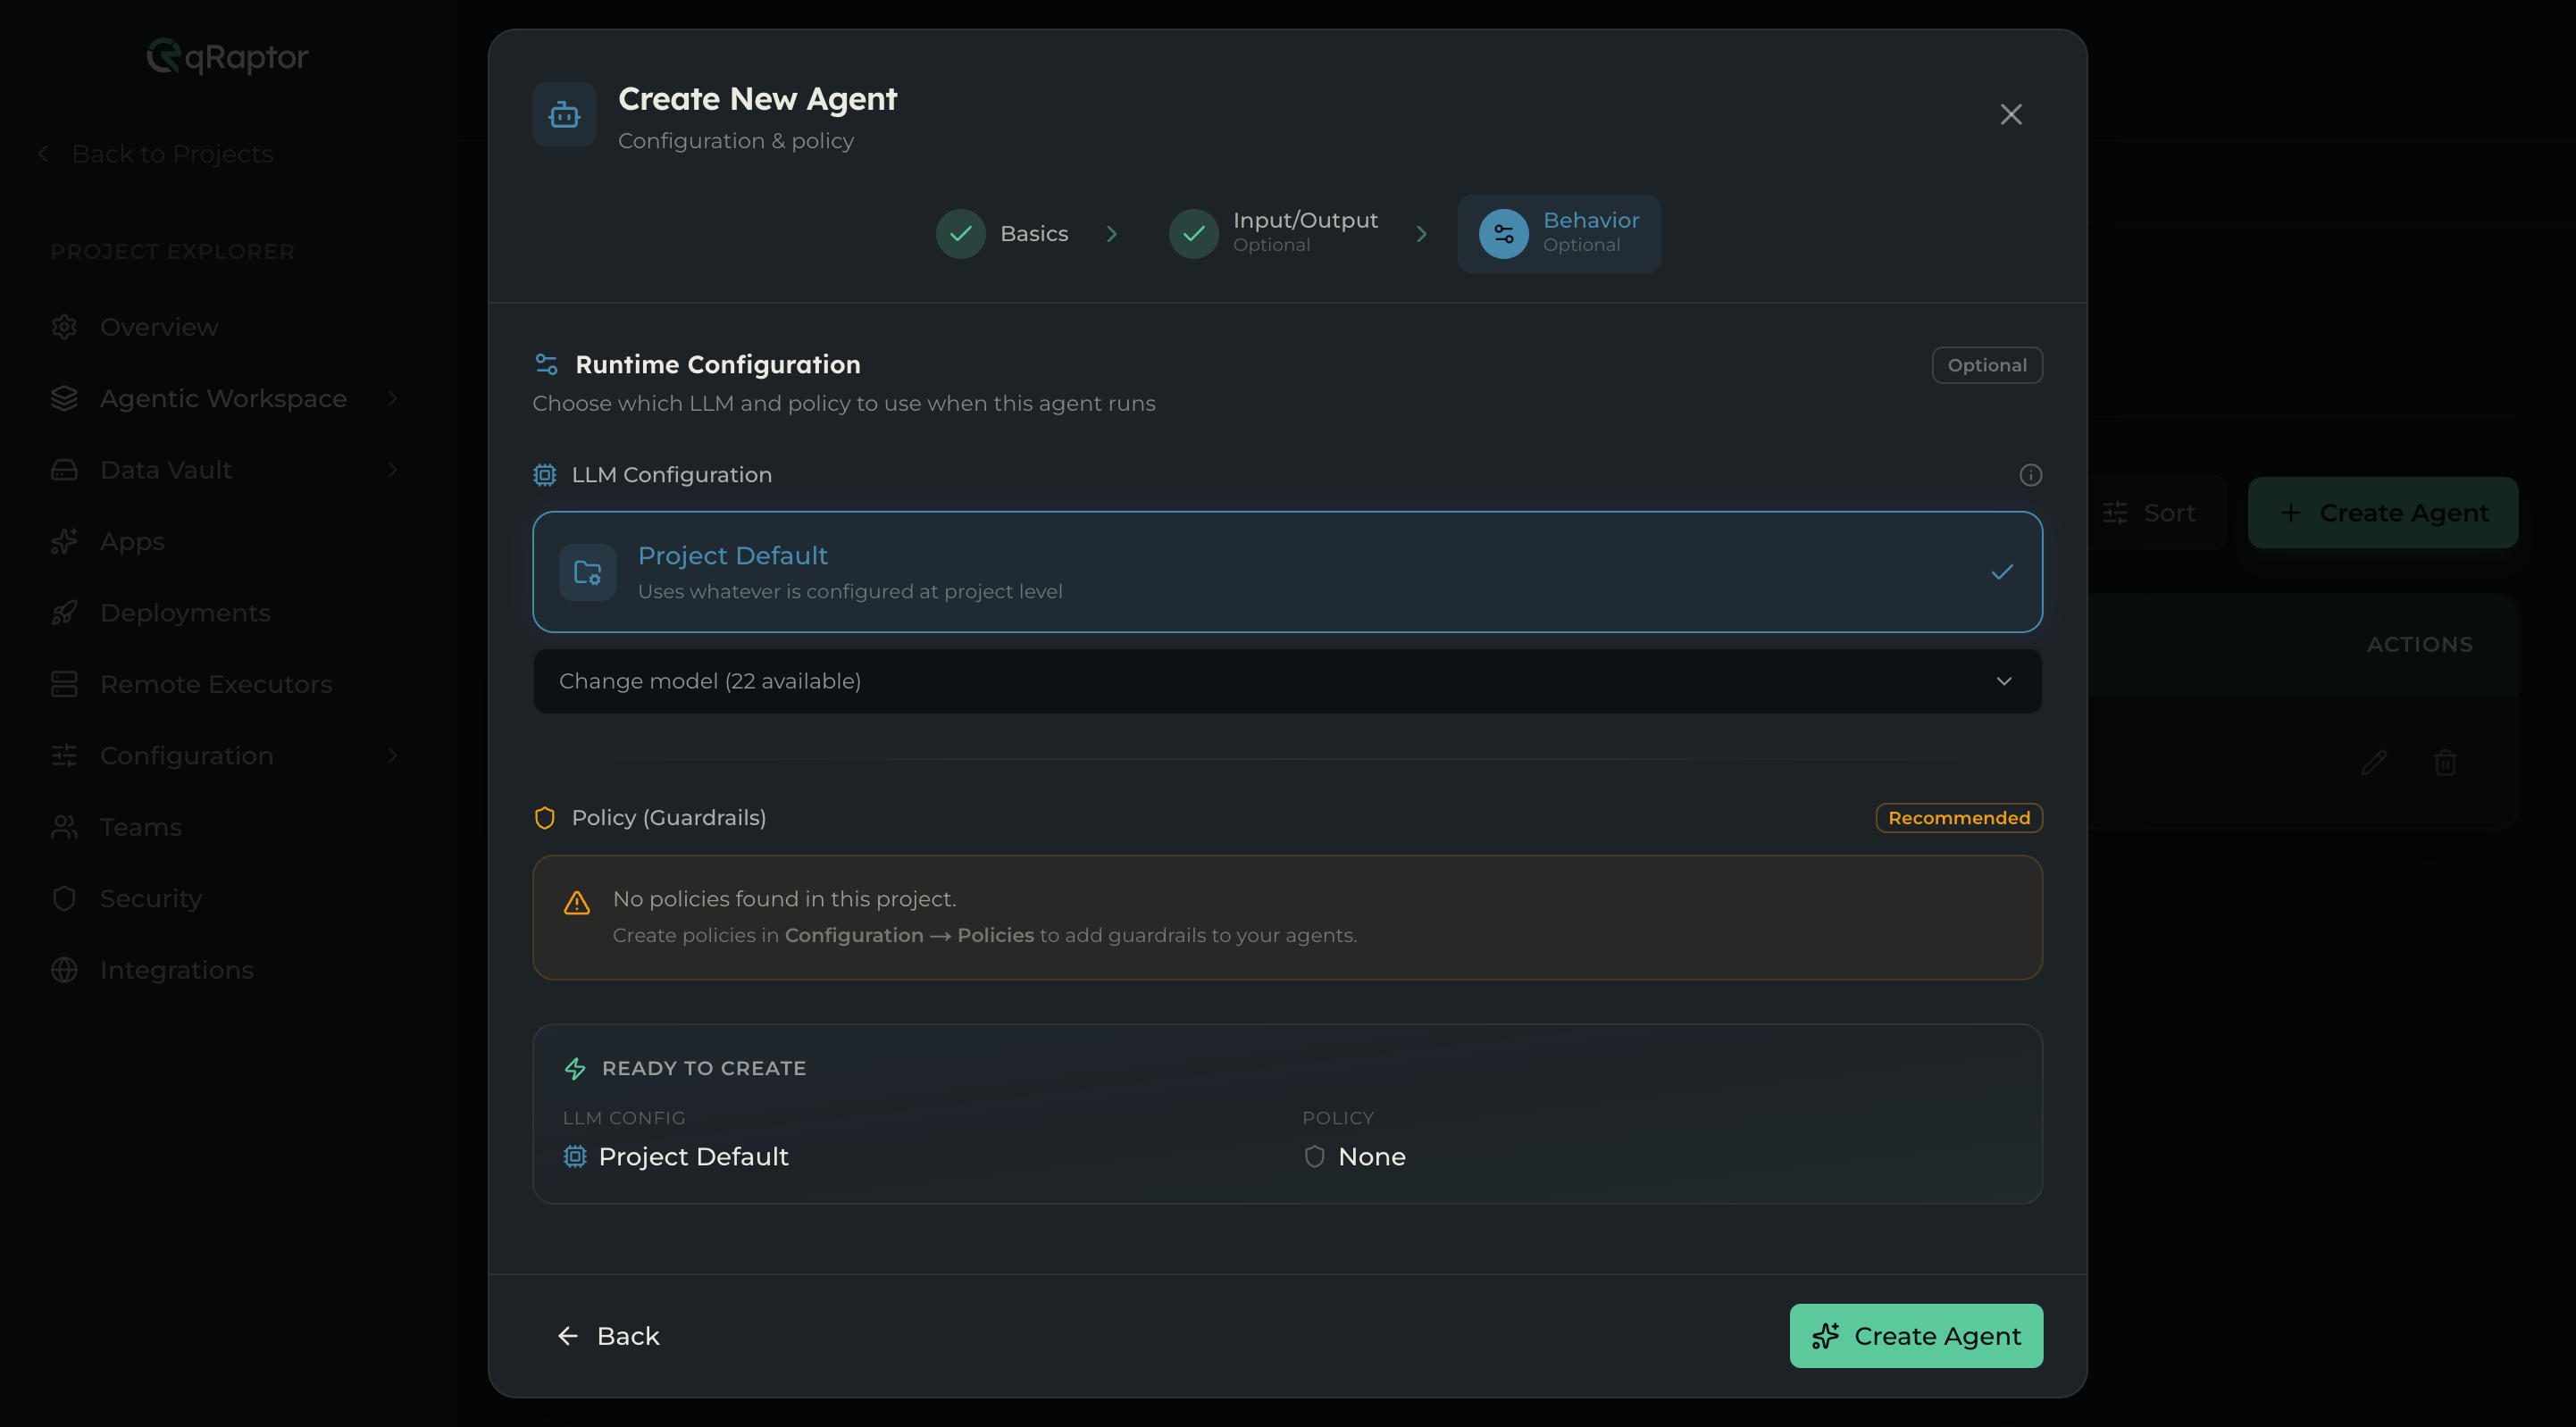
Click Create Agent to finish.
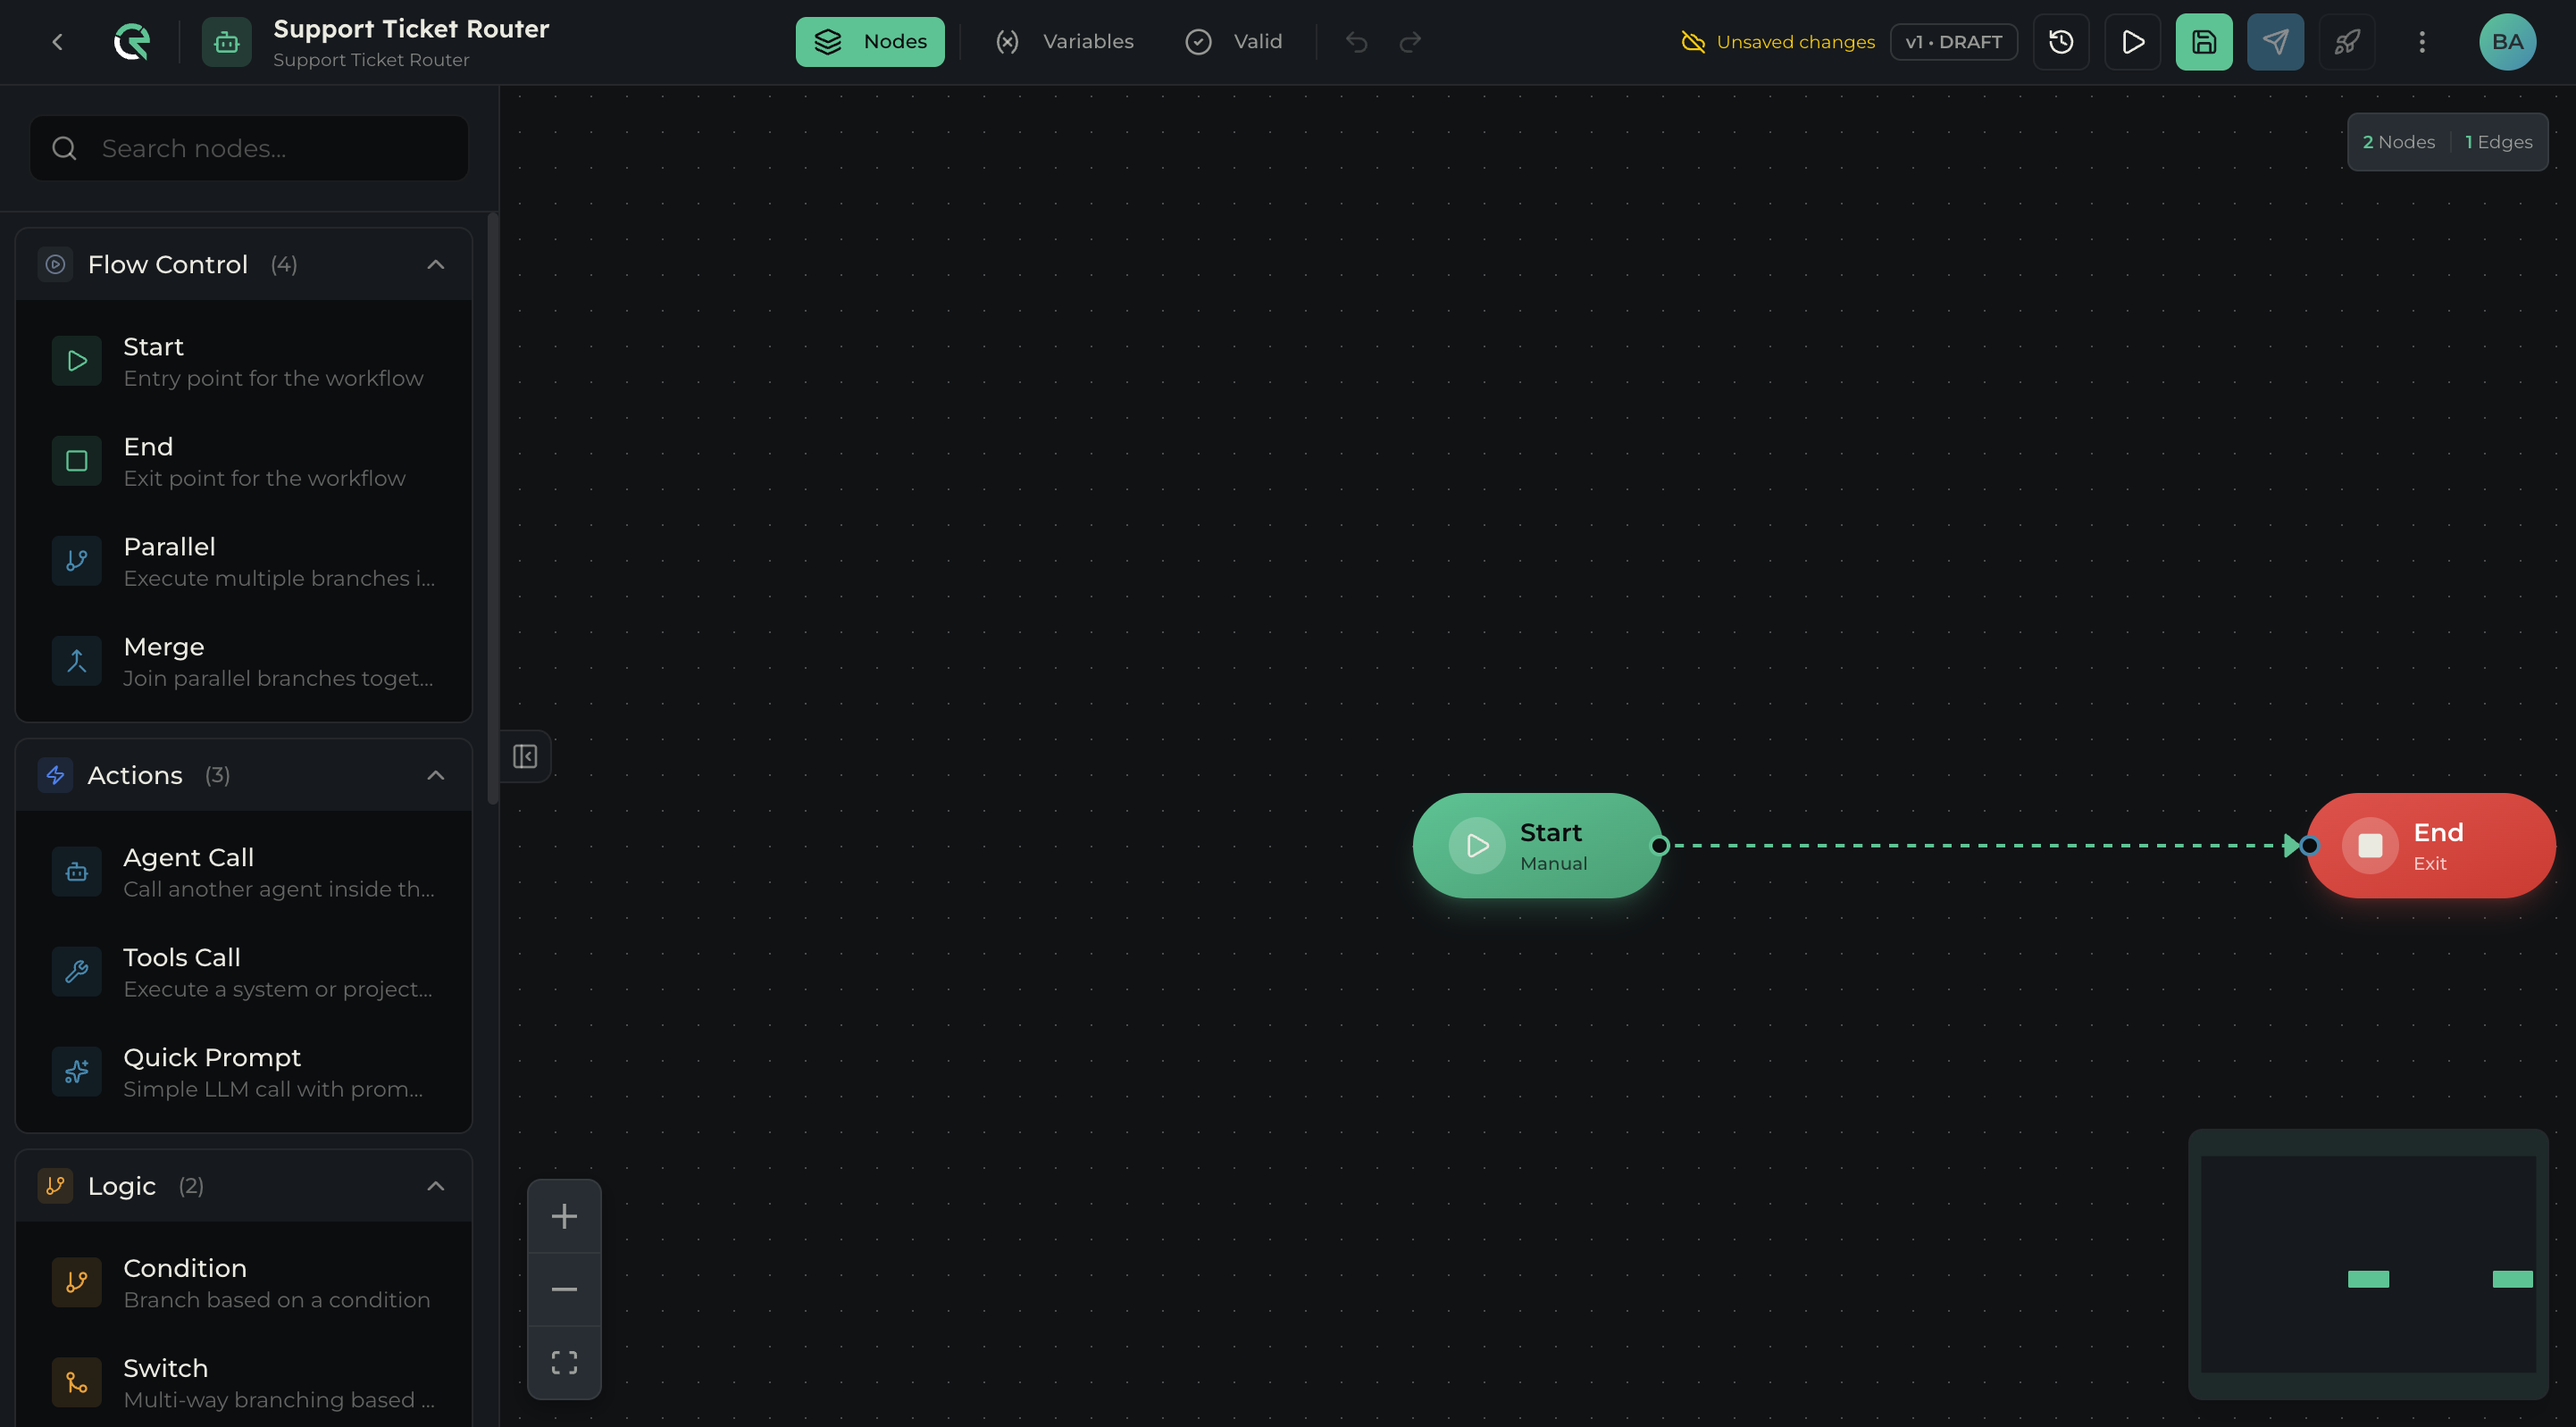
You’re on the canvas
After creation, qRaptor redirects you to the Agent Builder — a full-screen visual editor at its own URL. The agent is created as v1 • DRAFT.
Your canvas starts with two nodes already connected:
- Start (Manual trigger) — the entry point of your workflow.
- End (Exit) — the exit point.
The left panel shows the Node Palette with all available node types. The top toolbar gives you access to Variables, Validation, Undo/Redo, Testing, and Save/Publish controls.
What happens next
Your Task Agent exists but doesn’t do anything yet — it just starts and ends. The next step is to add nodes between Start and End to build your workflow logic.
The Canvas tour page walks you through every part of the Builder interface.
Common issues
- “Agent limit reached” — Your plan has a maximum number of agents. Upgrade your plan or delete unused agents.
- “Name already exists” — Agent names must be unique within a project. Choose a different name.
- Description too short — Minimum 10 characters. Use the AI Generate button for a quick suggestion.
- No LLM models available — Your project needs at least one LLM configuration. Go to Configuration in the sidebar to add one.